For anyone who has ever needed to quickly trim a large video file without going through a lengthy re-rendering process, LosslessCut is a game-changing tool. This free, open-source, and cross-platform software acts as a "swiss army knife" for video and audio editing, allowing you to cut, trim, and merge files quickly and without any loss of quality.
This guide will walk you through what LosslessCut is, how it works, and how you can use it to edit your videos efficiently.
What is Lossless Editing?
Traditional video editors often need to re-encode a file when you make cuts, which can lead to a loss of video quality and takes a significant amount of time. Lossless editing, on the other hand, avoids this by making cuts at specific points in the video data stream called keyframes. Because it's essentially copying the existing data rather than re-rendering it, the process is incredibly fast, and the output file is an exact copy of the original's quality.
Why Use LosslessCut?
LosslessCut is a graphical user interface (GUI) built on top of the powerful FFmpeg multimedia framework. It's designed for speed and simplicity, making it ideal for tasks like:
- Rough-cutting large video files from cameras, drones, or GoPros to save space.
- Removing commercials from recorded TV shows.
- Extracting audio or subtitle tracks from a video file.
- Merging multiple clips from the same source.
- Taking full-resolution snapshots from a video.
Step 1: Download and Install LosslessCut
Before you begin, you'll need to download LosslessCut. It is available for free for Windows, macOS, and Linux from its official GitHub page. Once downloaded, follow the installation instructions for your operating system.
Step 2: Open Your Video File
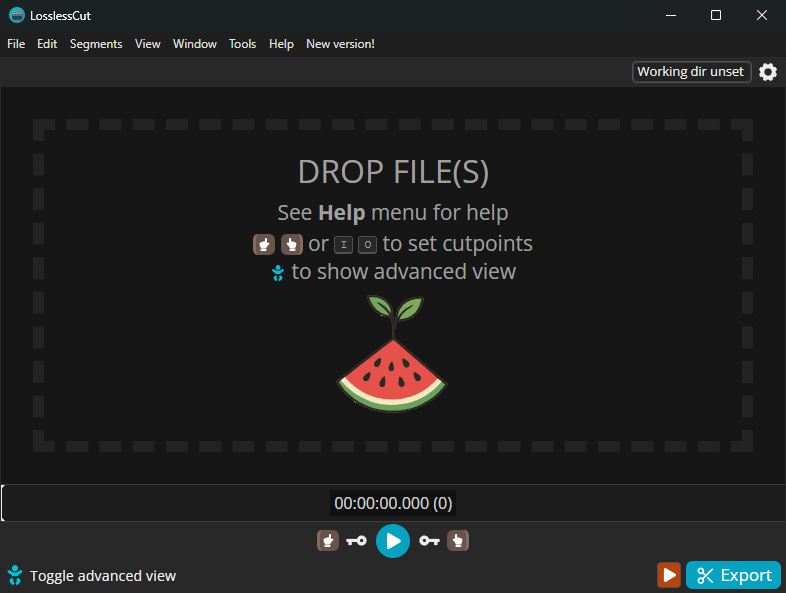
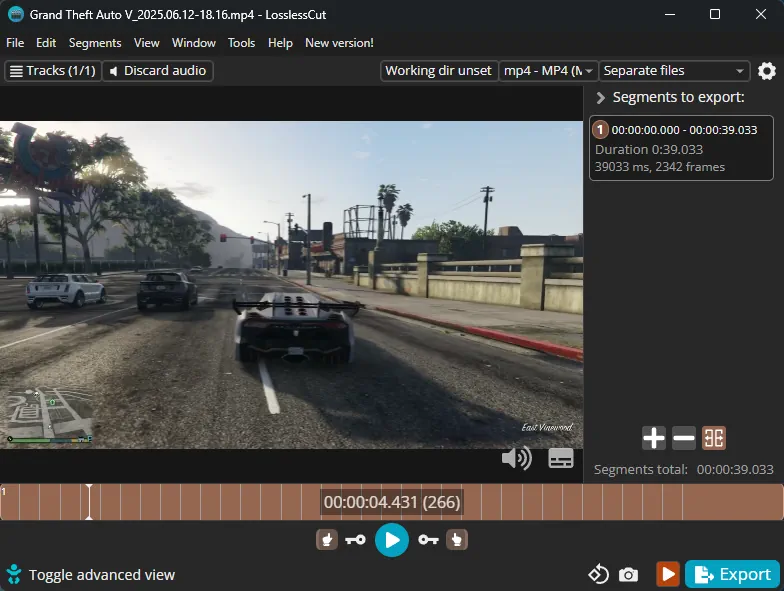
The easiest way to open a video in LosslessCut is to simply drag and drop the file directly into the application window. The video will immediately load, and you will see its timeline displayed at the bottom of the screen.
Step 3: Set the Start and End Points
This is the core of trimming your video. You'll mark the beginning (the "in" point) and the end (the "out" point) of the segment you want to keep.
- Find the Start Point
Use your mouse to drag the playhead along the timeline, or press the play button to find the exact frame where you want your new video to begin. - Mark the Start Point
Once you've found the spot, you can either press the "I" key on your keyboard or click the left-hand icon (☝️) to set the "IN" point.

- Find the End Point
Continue moving the playhead to the frame where you want your video segment to end. - Mark the End Point
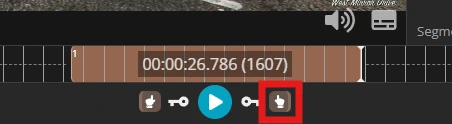
Press the "O" key on your keyboard or click the right-hand icon (👆) to set the "OUT" point.
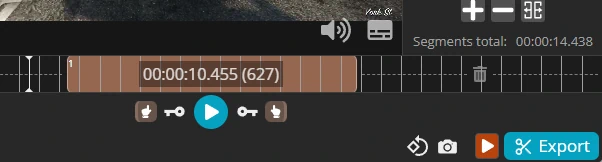
The portion of the timeline you want to keep will now be highlighted, and the parts that will be removed are often marked with a trash can icon.
Step 4: Export Your Trimmed Video
With your segment selected, the final step is to export it.
- Click the Export button, which is typically located on the right side of the interface.
- Then customize Export options or leave them as default and click the Export button again.
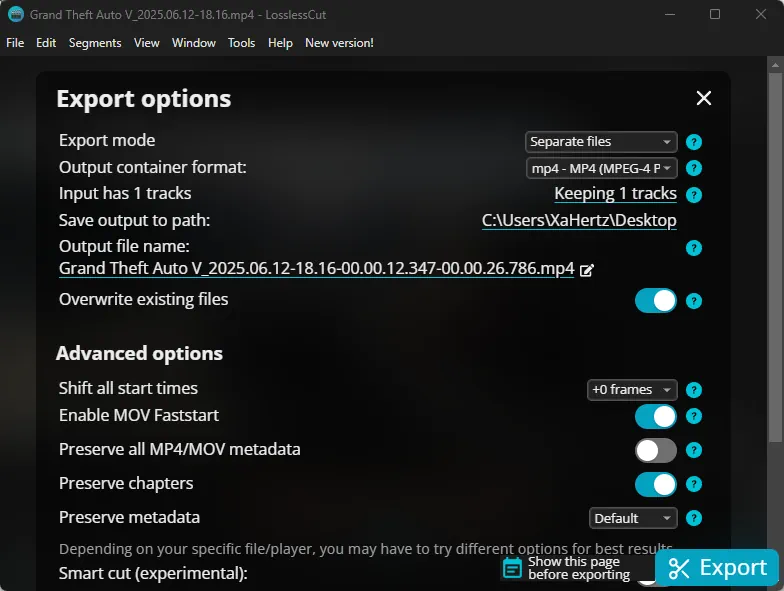
- LosslessCut will almost instantly create a new video file containing only the selected portion.
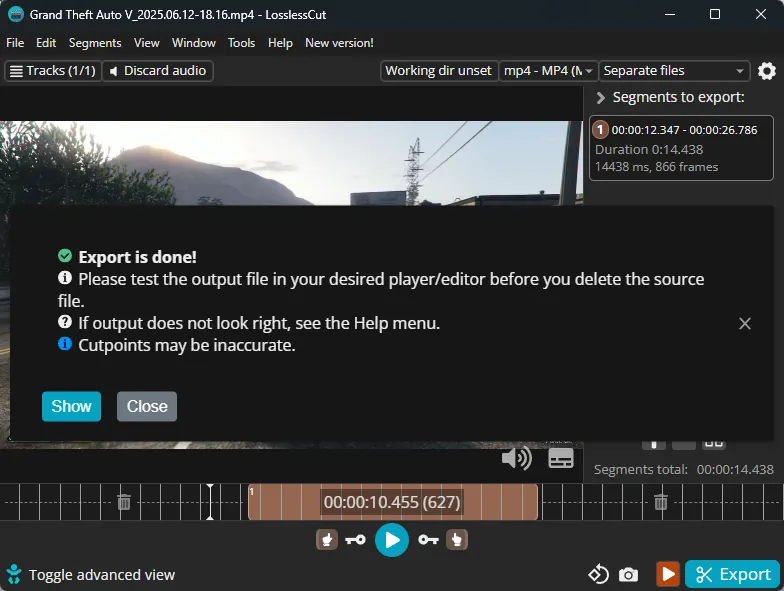
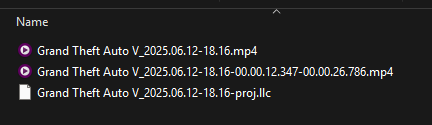
- The new file will be saved in the same folder as the original video, with the portion timestamp added to the filename. Your original video file remains completely unchanged.
Advanced Features
Beyond simple trimming, LosslessCut offers a wide range of features for more complex tasks:
- Smart Cut
An experimental feature that allows for more precise cutting, even between keyframes. - Merging Files
You can combine multiple video files that have the same codec parameters. - Track Management
Add, remove, or replace audio and subtitle tracks within a video file. - Format Conversion (Remuxing)
Quickly change a video's container format (e.g., from MKV to MP4) without re-encoding. - Batch Operations
While it doesn't have a full batch export system, its multi-file workflow is very fast.
Supported Formats
LosslessCut works with the most common video and audio formats by utilizing the Chromium engine's built-in HTML5 video player. Supported formats include:
- Video Containers: MP4, MOV, WebM, Matroska (MKV), OGG
- Audio Codecs: MP3, AAC, FLAC, Opus, WAV
- Video Codecs: H.264, H.265, VP8, VP9, AV1
If you have a file in an unsupported format, LosslessCut can use FFmpeg to create a low-quality, playable proxy version for editing. The final export will still use the original file, ensuring a lossless result.
Final Thoughts
LosslessCut is an essential, free utility for anyone who needs to perform quick and simple video edits without sacrificing quality or enduring lengthy re-rendering times. By avoiding the slow re-encoding process, it allows for the near-instantaneous trimming, cutting, and merging of video and audio files.
While it doesn't replace full-featured video editors, it excels at its core function: rough-cutting large files from sources like drones or cameras to quickly extract the most important segments and save significant storage space. This makes it an incredibly efficient and powerful tool for optimizing video workflows with just a few clicks.
Last updated on January 1, 2026